Thursday, March 18, 2010

Configuring Metadata Navigator for ODI

One needs an application server to deploy Metadata Navigator.
I have used the Oracle Containers for J2EE to demonstrate the same.


After installation one has to set the environment variables: JAVA_HOME and ORACLE_HOME.
JAVA_HOME="path of the latest JDK installed on the machine"
ORACLE_HOME="Path of the extracted J2EE Containers"


Open the command prompt, go to ORACLE_HOME/bin and start the application server using the command oc4j -start.


Open any web browser and enter the URL http://hostname:8888/
8888 is the default port for the OC4J containers


Click on Launch Application Server Control


Login with oc4jadmin as user and the password set during installation of the application server.


Select the Deploy button


Browse to the location of oracledimn.war present in the ODI_INSTALLDIR/setup/manual
Select Next


Specify the application name as ODI Metadata Navigator


The application is deployed


Browse to ODI_HOME\oracledi\bin
Copy snps_login_work.xml


Place it in OC4J_HOME\j2ee\home\applications\APP_NAME\oracledimn\WEB-INF


Open URL: http://hostname:8888/oracledimn
Enter the username and password specified in the settings for accessing Designer


Bravo! Metadata Navigator is working with the projects listed. I had created just one project called Demo which is visible


You are now ready to browse through the different Scenarios, KM's used, Topology settings etc.


ODI Metadata navigator is a neat tool for execution of scenarios. Other then that it acts like a central web based tool to look at the different Topologies, Knowledge modules used, variables etc. It is not at all used for any kind of development. It took me a while before I could setup Metadata Navigator, hope it saves you some precious time!

Sunday, January 17, 2010

Using Oracle Data Integrator(ODI) with Oracle Hyperion Financial Management(HFM) 11.1.1.3 (Illustrated)

Most people who have been working on earlier releases of Hyperion products would be accustomed to HAL. These days ODI is being positioned by Oracle for all data and dimension load across different hyperion products.

A few weeks back i started trying ODI to work with HFM 11.1.1.3. I used ODI 10.1.3.5 which is the latest release available on the Oracle edelivery network. In the process i learnt that many people struggled to get this combo to work properly.

For everyone who tried that and did not get that right, ODI 10.1.3.5 supports EPM 11.1.1.2 or earlier.
To get ODI to work with EPM 11.1.1.3 you have to download 'Patch 8718768' from Oracle support(earlier Metalink3). It upgrades ODI to 10.1.3.5.2

There is another Patch '8785892' which is a one-off patch to fix the HFM 11.1.1.3 compatibility with ODI 10.1.3.5. It is less than 100 Kb.

I will start with configuration of the master and work repositories. The installation is very easy and has thus been left out.

Important: Add the location of the ODI Drivers folder to the Environment variable 'Path'


Create 2 users with separate tablespaces(helps in debugging later) for the master and work repositories. I have used odi_master_repo and odi_work_repo.


Go to the Master Repository Creation wizard and fill in the details.


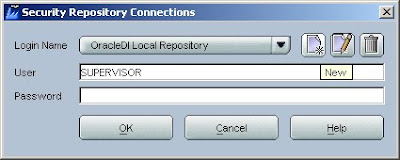
Go to the topology manager and select the New option.


Enter SUPERVISOR as username SUNOPSIS as password
Fill the appropriate details and make this the default connection.


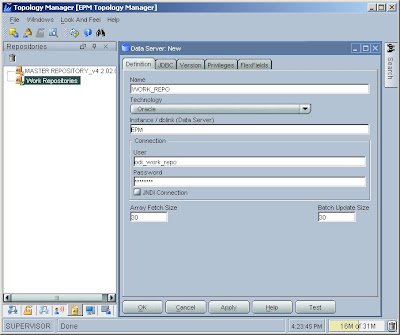
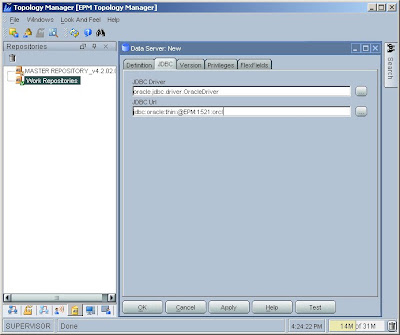
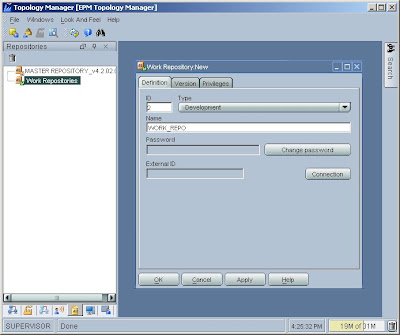
Insert a new Work Repository in Repositories.


Fill the appropriate details


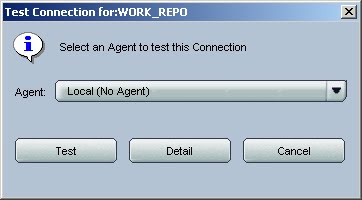
Test


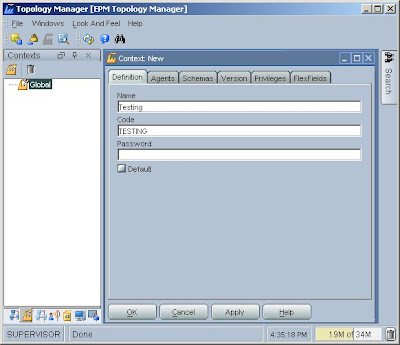
Set the context


The context Global is set.

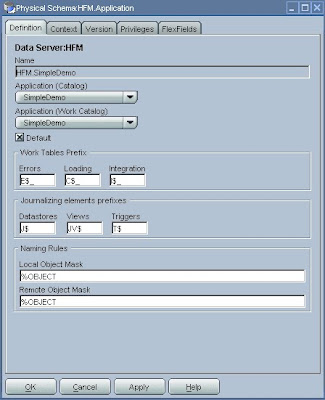
In the physical schema select the Technology(Hyperion Financial Management).
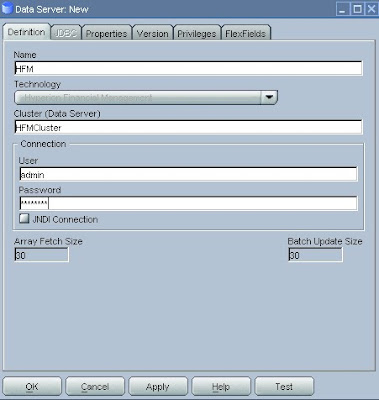
Under that Insert Data Server


Enter the cluster name, HFM username and password for accessing the HFM application.
Make sure you have the HFM Client installed on this machine in case the HFM application resides on any other machine.


Enter the Application Name.


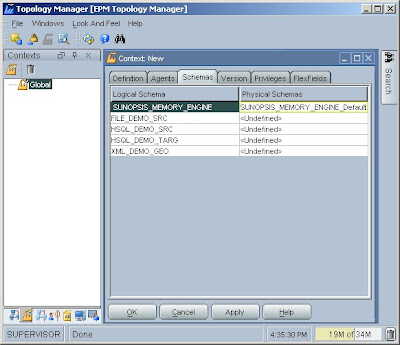
Give a logical schema name under Context. The same shall be visible under Hyperion Financial
Management in Logical Schema.


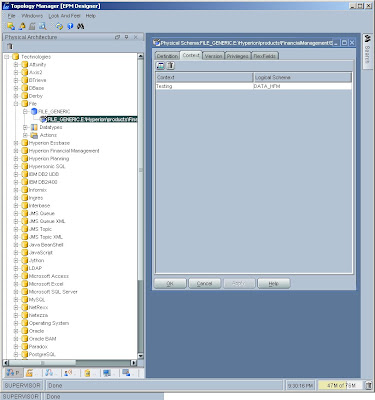
Now we define the Physical Schema for our Source Files(Flat Files). Create a directory on the local system and transfer all the Files to that folder. Specify the location of the Directory under Directory(Schema) and Directory(Work Schema)

Under the Context tab select the context and define the Logical Schema for 'File'


Now go to the Designer and Create a New Connection with SUPERVISOR as Username and SUNOPSIS Password.


Go to projects and insert a new project.


Right Click and select Import Knowledge Modules


Select the RKM for Hyperion Financial Management, LKM File to SQL(for loading from Flat files as LKM from File to Hyperion Financial Management is not available), IKM SQL to Hyperion Financial Management Data and IKM SQL to Hyperion Financial Management Dimension


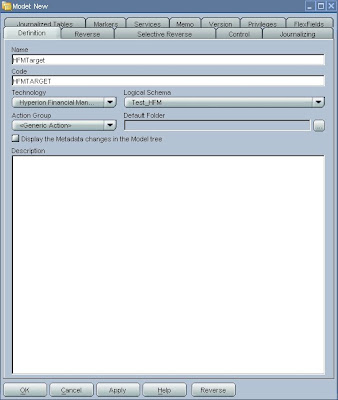
Go to Models and Insert a Model


Specify the Model name, Technology, Logical Schema.

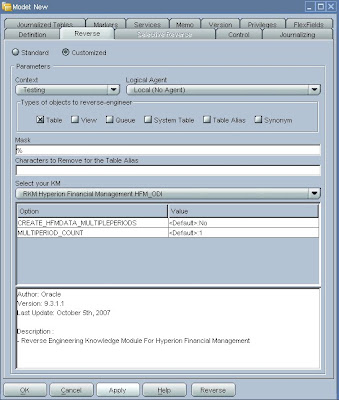
Under Reverse tab select Customized, select the Context specified in the physical schema, select the RKM for Hyperion Financial Management.

Apply and then Reverse.


Go to the operator and check the status under All Executions.


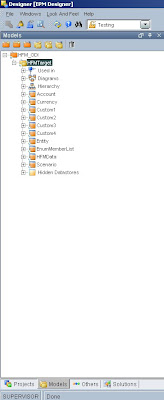
The model below has successfully Reverse engineered the structure of the Target(in this case HFM). One can see the Account, Entity, Scenario etc which are used for Dimension Loading and HFMData used for Data Load.


For Source Data, Create a new Model for Data Source with 'File' as Technology, Select the Logical Schema defined in the Physical Schema.

Select the context and Apply

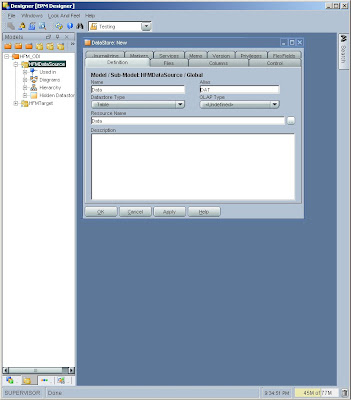
Insert a new Datastore


Select the Datastore type as Table and select the flat file in the Resource Name(It points to the folder defined in the Physical Schema)


Select the file format as Delimited for a .csv file. Specify the no. of Header lines, Field Separator as ","(comma) and text Delimiter as "(double quote)

Add VideoGo to the columns tab and Reverse

This would populate the columns.
Now that all the sources and settings are taken care of, let us create a basic interface.
Select the context defined earlier and choose Staging Area Different from Target.


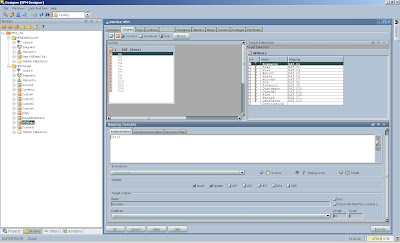
In the diagram drag and drop the Source and Target Datastores from the Models.
In this case we are loading data so we drag the csv datafile model under Source and HFMData under Target.
Map the required Source Datastore fields with the Target Datastore fields.

Check the flow. On clicking different diagrams one can see the Knowledge Module(KM) being used and change any settings for that particular KM


Execute the interface.


Go to the operator and check the status of the execution.


Hope you find this post useful!